Tuesday, 12 November 2024
Building a Durable 10x16 Shed with 8-Foot Ceilings for All-Weather Use

Building a Durable 10x16 Shed with 8-Foot Ceilings for All-Weather Use
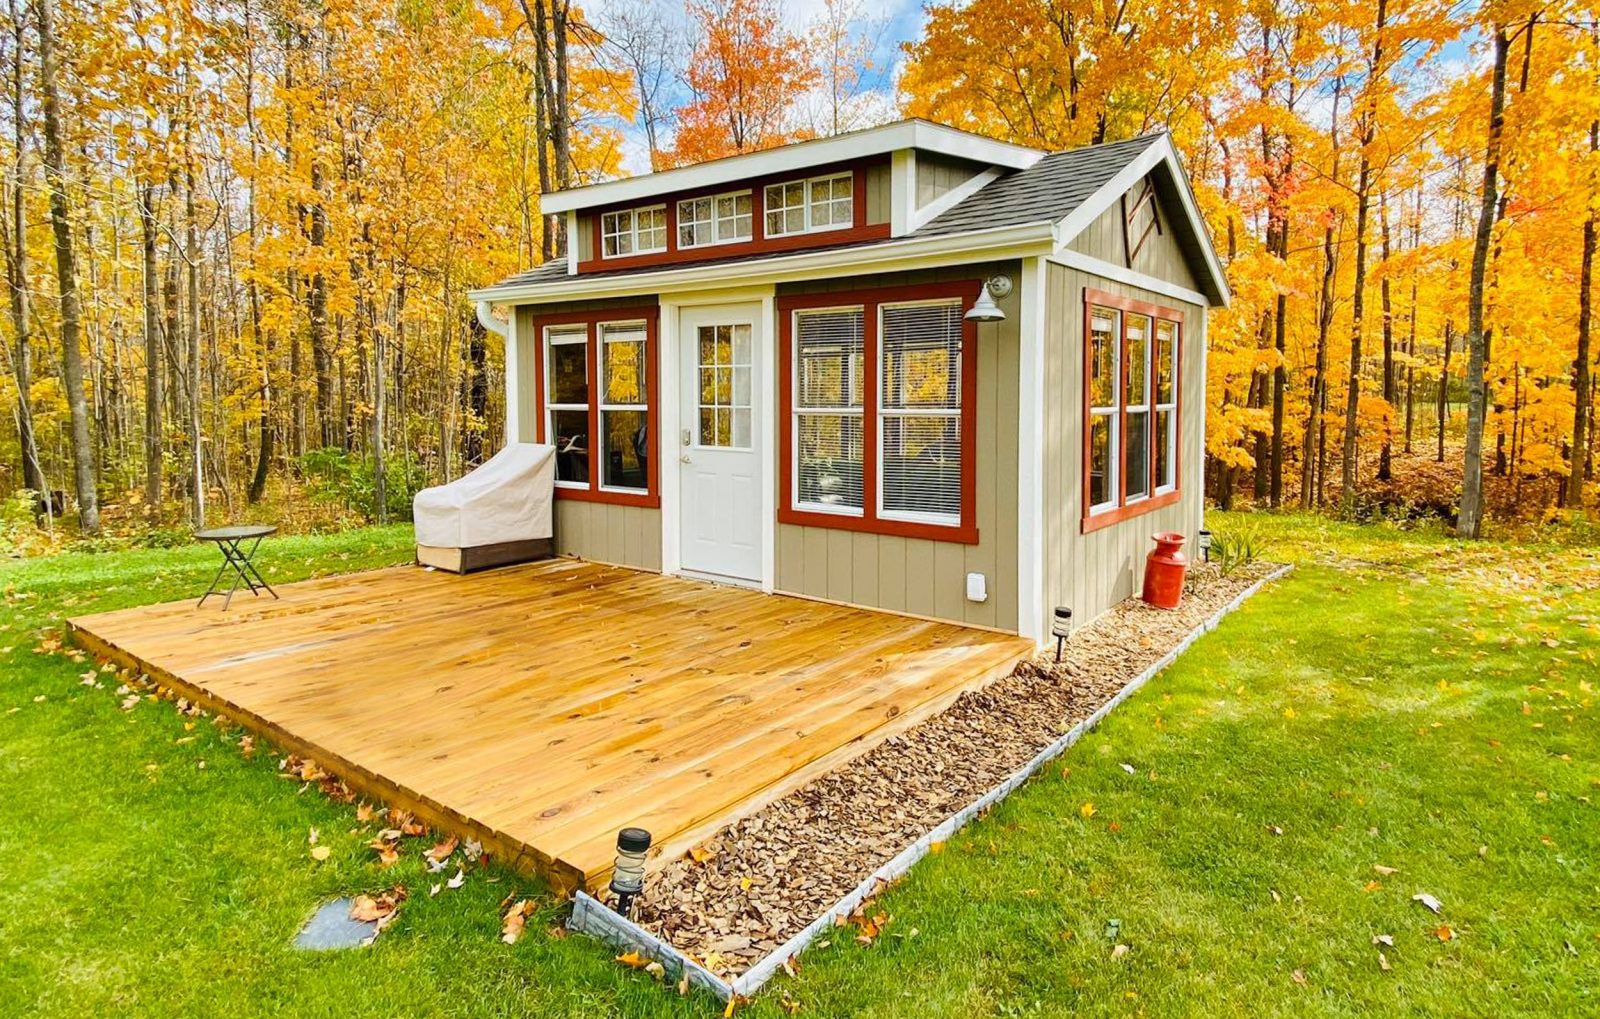
Hey there, fellow DIYer! Are you dreaming of a sturdy, all-weather shed to store your tools, garden equipment, or maybe even a small workshop? Well, you're in the right place! Building a 10x16 shed with 8-foot ceilings is a fantastic project that'll give you a spacious and versatile structure for years to come. Let's break down the process step by step, and by the end, you'll be well on your way to having that perfect shed you've always wanted.
Planning and Preparation: Laying the Foundation
Before you start hammering away, a little planning goes a long way. First, you need to decide on the location for your shed. Make sure it's a spot that's level and has good drainage. You'll also want to check with your local building codes to see if you need a permit. Don't forget about utility lines! You don't want to run into any surprises once you've started digging.
Choosing the Right Foundation
The foundation is the backbone of your shed, so it's crucial to get this right. There are several foundation options, each with its own pros and cons:
- Concrete Slab: Strongest option, great for heavy loads, but requires a lot of work and can be expensive.
- Concrete Piers: Easier to install than a slab, and allows for drainage, but may not be as stable in unstable soils.
- Pressure-Treated Skids: Affordable and fast to install, but may not be as sturdy for long-term use.
Choose the foundation type that best suits your budget, soil conditions, and the intended use of your shed.
Framing the Walls: The Backbone of Your Shed
With the foundation set, it's time to build the walls. You'll be using pressure-treated lumber for the bottom plate, which will rest directly on the foundation, and then standard lumber for the rest of the wall framing. Here's the general process:
Cutting and Assembling the Wall Frames
Measure and cut your lumber to the correct lengths for the studs, top plate, and bottom plate. For a 10x16 shed with 8-foot ceilings, you'll typically use 16-inch on-center spacing for the studs. Use a level and a framing square to ensure everything is square and plumb as you assemble the wall frames.
Sheathing the Walls: A Strong and Weatherproof Shell
Once the wall frames are in place, it's time to add sheathing. Sheathing provides structural support and helps to create a solid surface for your siding. You can choose between plywood, OSB (oriented strand board), or even fiberboard. Attach the sheathing to the framing with screws or nails, making sure to follow the manufacturer's recommendations.
Building the Roof: Keeping the Elements Out
Now for the roof, which is another crucial component of a durable and weatherproof shed. We'll be building a traditional gable roof, but you can choose a different style depending on your preference.
Framing the Rafters
Measure and cut the rafters to the correct length, allowing for overhang. Use a rafter template to ensure they're all the same size and angle. You can choose to use a standard 2x4 or 2x6 for the rafters depending on your local building codes and the snow load in your area.
Sheathing the Roof and Adding Underlayment
Similar to the walls, you'll sheath the roof with plywood, OSB, or fiberboard. Once the sheathing is in place, you'll install a layer of roof underlayment, which is a waterproof membrane that will protect the roof from leaks.
Siding and Roofing: Adding the Finishing Touches
Now it's time to make your shed look its best! You have lots of options for siding and roofing, and the best choice will depend on your style and budget.
Choosing the Right Siding and Roofing
- Siding: Vinyl siding is a popular option because it's affordable, low maintenance, and comes in a variety of colors. You can also choose wood siding, fiber cement siding, or even metal siding, each with its own pros and cons.
- Roofing: Shingles are the most common roofing material, but you can also use metal roofing, which is more durable and can be more energy-efficient.
Adding Doors and Windows: Enhancing Functionality and Aesthetics
Now it's time to add doors and windows to your shed, making it more functional and aesthetically pleasing.
Choosing the Right Doors and Windows
For a 10x16 shed, you'll probably need a single door on one of the shorter sides. You can choose a solid wood door, a pre-hung door, or even a garage door if you plan on storing a vehicle inside. If you want natural light, adding one or two windows on a side wall is a great idea. You can even add a window in the gable end for even more light.
Finishing Touches: Making Your Shed Your Own
The final step is to add the finishing touches to make your shed truly your own. This could include:
- Painting or Staining: Give your shed a fresh coat of paint or stain to enhance its appearance and protect it from the elements.
- Adding Trim: Adding trim around the doors and windows can give your shed a more polished look.
- Interior Finishing: Install drywall, paneling, or insulation on the interior of the shed to create a more finished look.
And there you have it! By following these steps, you'll be able to build a durable 10x16 shed with 8-foot ceilings that will serve you well for many years to come. Remember to always follow safety precautions, and don't hesitate to ask for help if needed.
No comments:
Post a Comment
Note: only a member of this blog may post a comment.